Step-by-step
Step-by-step tutorial on how to use e-Consular:
- How to register using an email address
- How to register using a GOV.BR account
- How to recover your GOV.BR account or password
- How to request services
- How to correct a request
- How to make an appointment
- How to reschedule or cancel a service
- How to request a service by post (available for some services only)
How to register using an email address


How to register using a GOV.BR account


How to recover your GOV.BR account or password
The GOV.BR account is an amalgamation of other existing authentication tools, Cidadão BR (used by the INSS) and Brasil Cidadão (used by other agencies).
Thus, if you have already used digital services, in person or through a proxy in Brazil, you may already be registered with the GOV.BR login, even if you do not remember your password. If you have a proxy or accountant in Brazil, for example, they may have created an account on your behalf, but with their data.
If you do not remember your password or do not recognize the phone number or e-mail address registered on your account, follow the steps below to regain access:
- Go to http://faq-login-unico.servicos.gov.br/en/latest/_perguntasdafaq/formarrecuperarconta.html and try to recover your account with the suggested steps.
- If you have tried all of the above without success, contact the "How can I help you" area of the federal government and follow the instructions on the page: https://portaldeservicos.economia.gov.br/atendimento/
- If you still cannot regain access to gov.br, it is possible to access the e-consular with only your email and password, without the CPF, as per the instructions above.
How to request services
1. Access the "Meus serviços" (my requestes) area.
After registration and login, you will be automatically directed to the system's main page.
Access the "Meus serviços" area by clicking on your name and choosing the "Meus serviços" option.

2. Then click "Novo serviço" (new request).

3. Select the desired service and click "Iniciar" (begin).


4. Fill in the information.
Please read the instructions carefully and fill in all the fields with the requested information.
Upload images or take photos of the required documentation in each field of the electronic form.

5. At the end, click on "Próxima etapa" (next step).

6. Check your request's data.
After filling in all the information, a page will be generated for you to check the data you entered.
Read each item carefully and, if you find any errors, correct the data.

7. If the information is all correct, send your request for validation by clicking on the green button at the bottom of the page.

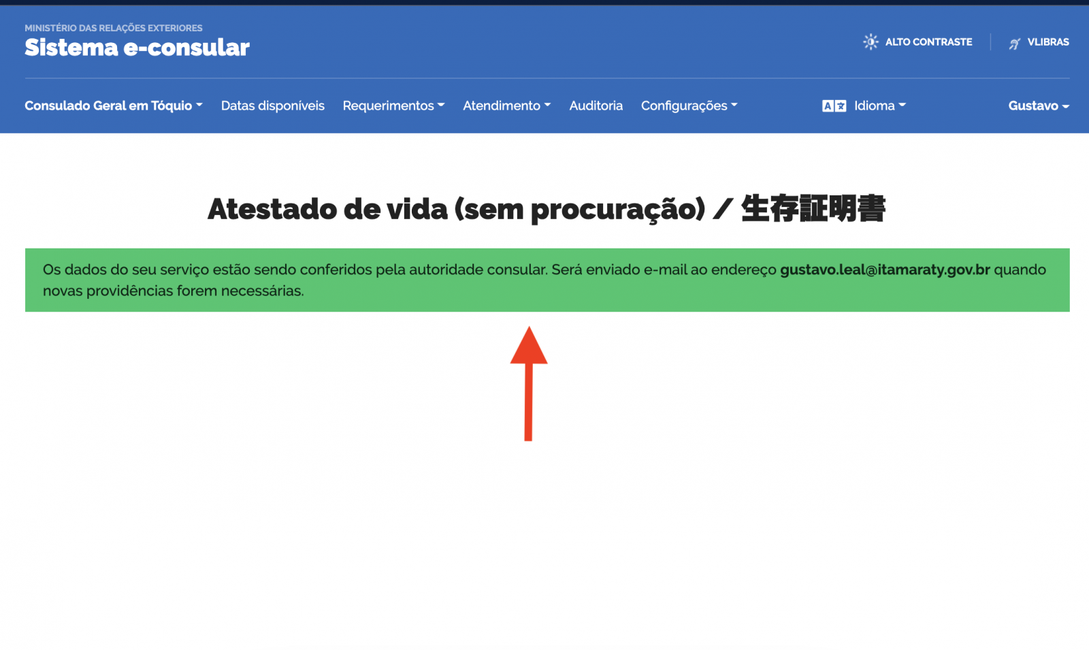
8. Request successfully sent.
After sending, the system will show a message in green, informing you that the request was sent successfully.

9. Wait for the Consulate's response.
Within 5 business days, the Consulate staff will send an email authorizing the appointment or requesting completion of the information.

How to correct a request
If you have received a message informing you of pending issues, make the necessary correction and resend the form for validation.
You can check what is pending in the system itself.
1. Go to the "Meus serviços" (my requests) area by clicking on your name.

2. Then click "Continuar" (resume) next to the desired service to make the necessary corrections.

3. Correct the indicated fields and continue to the end of the application by clicking on "Próxima etapa" (next step).

How to make an appointment
If your documentation is correct, the service status will read "Validado, necessita ação" (validated, action required). With the service validated, you will be offered available times to schedule.
1. Go to the link you received by email or enter the "Meus serviços" (my requests) area and click "Continue" next to the validated service.


2. Schedule your appointment at the desired date and time.
⚠️ For some services, you will also be offered the option of sending the application by mail. In these cases it is possible to complete the application remotely, without the need to attend the Consulate.

3. After choosing the desired date and time, the system will confirm that you really want to make the appointment.
Click "Sim" (yes) to confirm, or "Fechar" (close) to interrupt the scheduling proccess.

4. After choosing "Sim" (yes), the appointment will be confirmed.

5. You will also receive an e-mail with the confirmation.

6. On the day of the appointment, make sure to show up bearing all the original documents.
How to reschedule or cancel a request
You may reschedule or delete your request at any time by going to the "Meus serviços" (my requests) area.

Next to the desired service, click either on "Reagendar" (reschedule) or on "Apagar" (delete). Please note that deleted requests can no longer be recovered.

How to request a service by post (available for some services only)
If your desired service allows mailing, you can choose to apply for the service without having to go to the consulate.
1. On the scheduling screen select the "Enviar documentação por correio" (mail documents) option.

2. You will be forwarded to the page with information on how to send the documents and pay for the service.

3. Please read the information carefully and confirm the mailing at the bottom of the page.


4. You will be directed to the confirmation page, where the mailing information is still available.

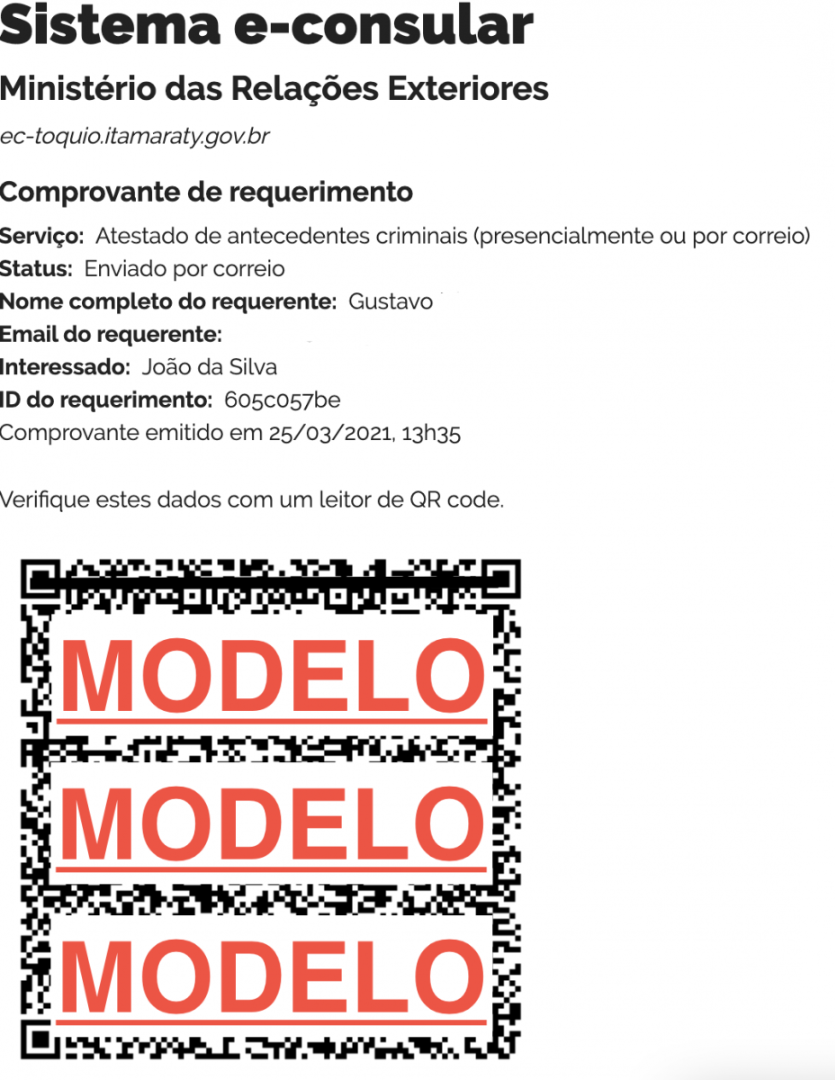
5. You must print the proof of service and mail it, along with the original documents. To print the voucher go to the bottom of the page and click on "Imprimir comprovante" (print voucher).

6. Print the receipt and send it, along with the other original documents, to the Consulate-General of Brazil in Tokyo.

